20% off the last Carbine of the year October 2023
use code “OP72”, for this huge discount.
Today we'll explore the Big Six components of the rifle draw stroke. Check out the video to see Dan Spagone, who has been one of our ISP and NLB lead instructors for almost a decade. He’s trained numerous civilians, and special operations in both the military and law enforcement. We’re gonna break down each step to enhance your technique.
Now, let's dive into the Big Six and put together the essential elements of your rifle draw stroke. Are you ready? Let's get started!
Proper Rifle Platform
Step 1: Establish the Rifle Stance. Our stance is fundamentally the same as when you’re doing the Big Six with a pistol. You are using an athletic stance with your feet approximately shoulder width apart. You can use this stance to do some striking or some type of movement.

The shooter demonstrates the C-Grip for better aim and handling.
Mastering The Rifle Grip
Step 2: Acquiring the Two-Hand Master Grip. With a carbine, your grip is a little more in depth but you’re still looking to have a positive control of the weapon system. So, on the firing hand side, you need to get nice and high on the back strap grip just like you would on a pistol. You need to be able to access all of your controls, specifically the safety and the trigger. On your non-dominant hand, make sure you have a good grip on your hand guard. With most shooters, you’ll see what’s called a “C-Grip” where the thumb is coming over the top of the hand guard to help control and mitigate the recoil while the rest of the hand is going beneath and below. Be sure that your trigger finger is straight and off the trigger.
Want More Free Pro Training, Interviews, and Discounts on More Advanced and Live Training?? Click Below to Join Our Email List
Rifle Presentation
Step 3: Execute the Presentation. In your presented position, make sure your non-dominant hand is pulling into your shoulder yet pushing forward with the firing hand. When you present out, be sure to lock in and extend your non-dominant arm so that you can get as much biomechanical leverage and force into that hand guard as possible. Your head should be able to move up and down, along that bore line, rather than being cocked over and looking for that optic, which compromises your head position. If needed, adjust the telescoping stocks to be able to access all of your controls accurately and quickly. The length of pull should sit in the crook of your elbow. Be sure to see the video as it is a little difficult to explain verbally, hence there is great benefit in training with a professional instructor.
Our presentation can come from a low ready, which is when the butt stock is in your shoulder pocket as you’re coming up. Or it could come from a high ready position, in which case you need to punch out to clear any shirts and garments, and then back into the shoulder. Again, ensure that you rotate your shoulder straight and forward.
One more important thing here: Any time the barrel is not pointed in a safe direction, that thumb safety should be on. When you’re on target, safety off. Off target, safety on!
Rifle Sight Picture and Sight Alignment
Step 4: Achieve Sight Picture and Sight alignment. If you’re using iron sights, obviously you need to align the sights. If you’re using some type of optic, align your sight by putting your reticle where you are intending to hit. The sight picture is making sure that the alignment is lined up in totality of the full sight picture of your firing solution. In the case of a red dot, you put the red dot on the center, mass combat effective zone of the target.
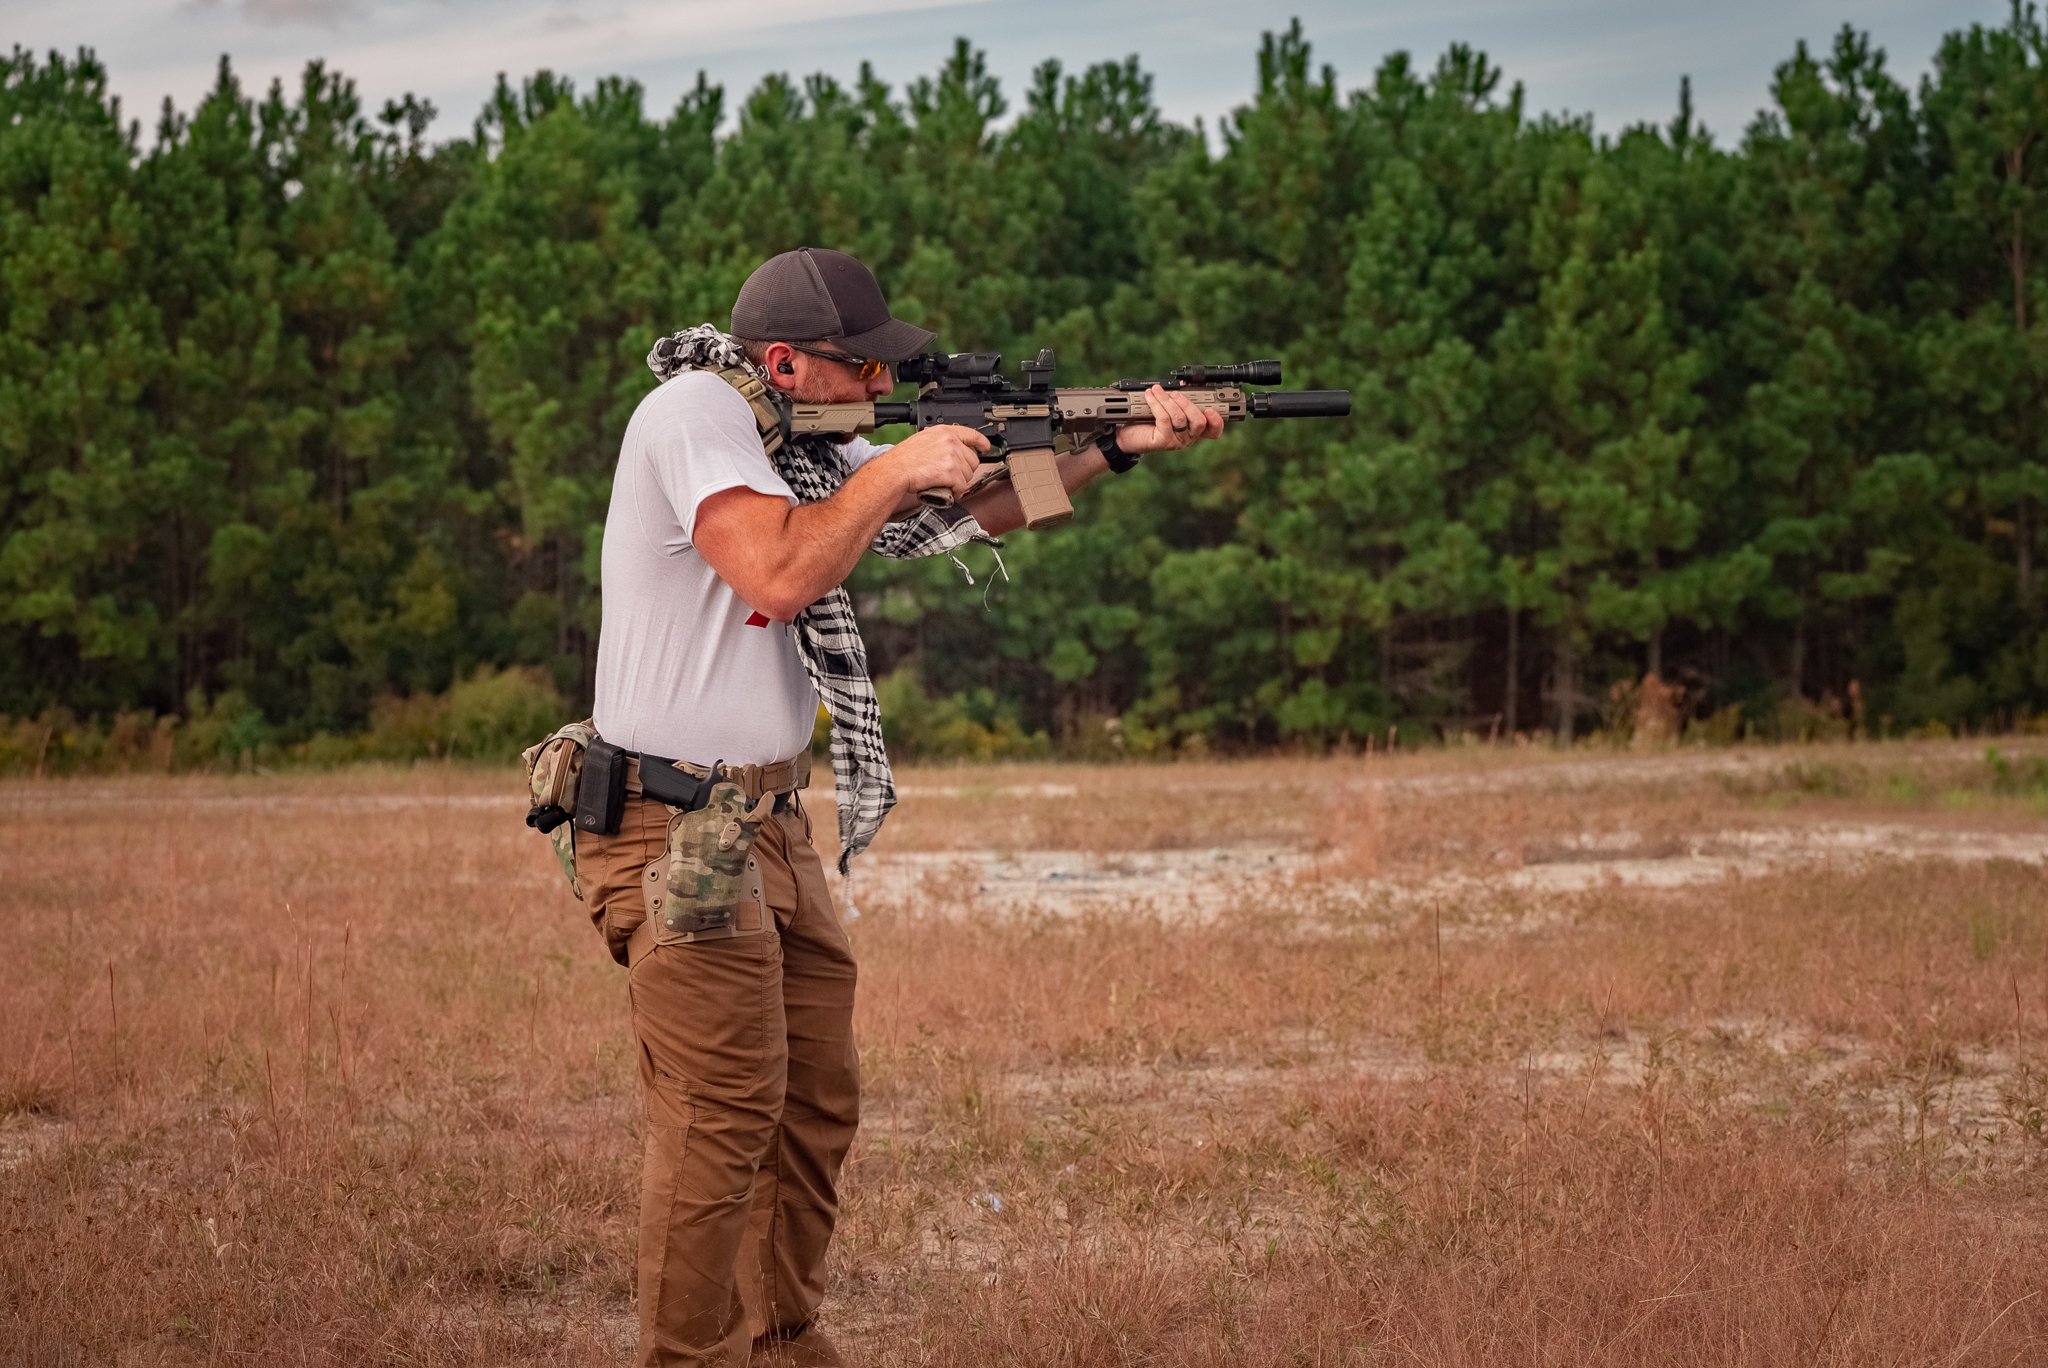
Precision in Focus: Dan demonstrates perfect sight alignment, trigger control, and steady aim.
Rifle Trigger Control
Step 5: Master Trigger Control. You want to make sure that you’re not slapping or yanking your trigger. It’s a nice and smooth trigger pull.
Rifle Follow Through and Reset
Step 6: The follow through is often one of the most neglected but arguably one of the most important elements of the Big Six. Some lethal force threats require more than one round so follow through is essential. Check your work through your sights to get that secondary and tertiary sight picture.
20% off the last Carbine of the year October 2023
use code “OP72”, for this huge discount.
Summary
If needed, play back the video several times to watch and practice all of the finite pieces that Dan did in his body mechanics and rifle manipulations.
To sum it all up, The Big Six steps for rifle use are as follows:
Establish your stance
Master the firing grip
Execute the presentation- high/low ready
Achieve sight picture and sight alignment with RDS/Scope/Irons
Master trigger control
Follow through and reset
Click here to check out Dan Spagone’s other pursuits in the industry.
If you want more content like this join our email list, visit our website, and like, share and subscribe on Instagram, Facebook, and YouTube. Stay tuned, stay connected and stay armed!
About The Author

Hank Hayes is a Combat Arts Hall of Famer and inventor of the No Lie Blade. He is the founder and CEO of both Intuitive Self Protection and NLB Tactical and creator of the ISP/NLB viscous fighting system. Since 1998, he has trained well over 30,000 Military and Law Enforcement personnel via Government contract mainly at the elite special teams level and continues to train both civilians and MIL/LE how to come home safe.